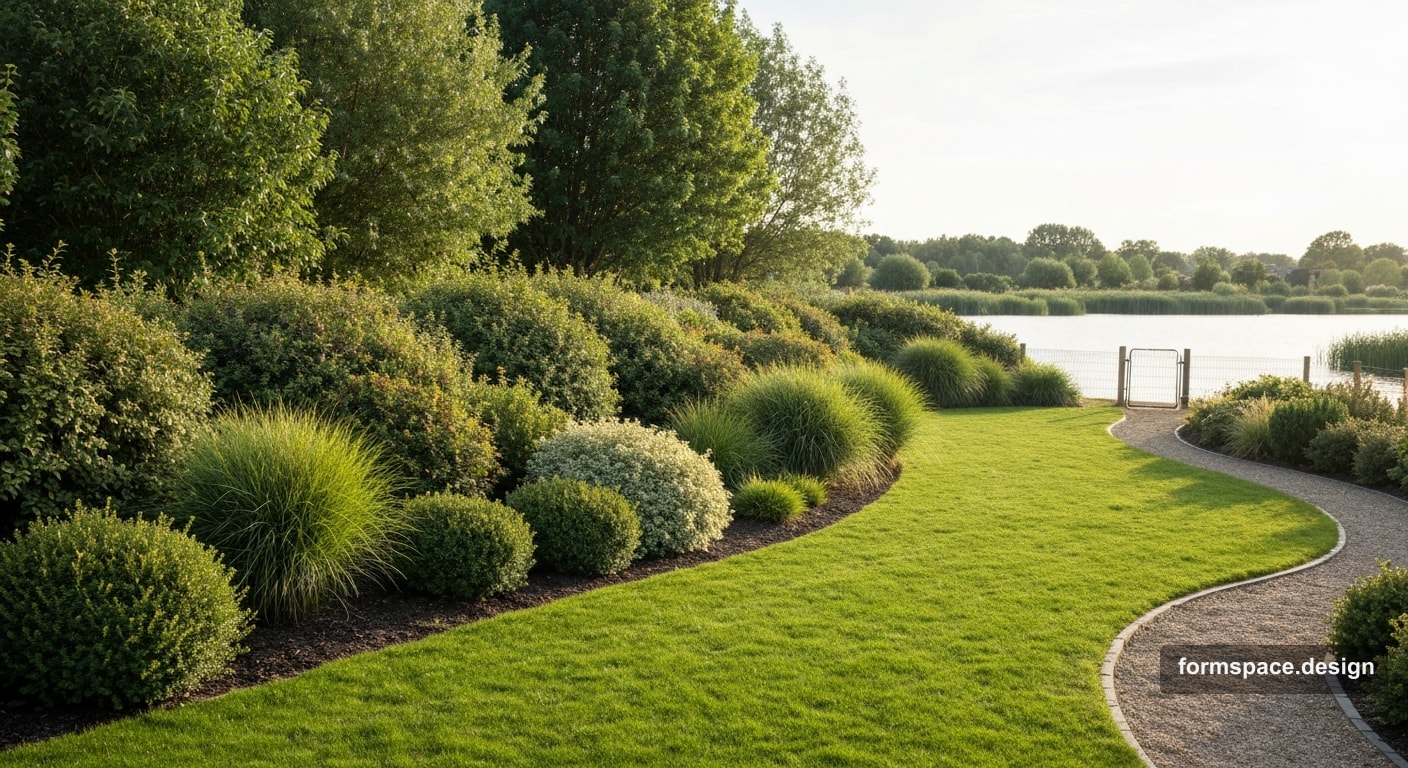
Terrain au bord de l'eau : zonage avec vues et sécurité
Un site à proximité d'une rivière, d'un canal ou d'un étang : vue, zone tampon, sécurité, schéma de zone. Que dessiner dans formspace.design, le rivage - selon les normes locales.
Réponse courte : Un site riverain doit être conçu autour de vues, d'une zone tampon sûre et de routes sèches. L'eau semble être le principal avantage, mais c'est elle qui dicte les limites : inondations, vent, surfaces glissantes, enfants, règles à terre et accès à l'entretien.
Pour une logique naturelle douce, regardez jardin naturaliste et pour un scénario familial - parcelle de 12 à 15 acres. Si nous parlons d'une piscine à l'intérieur de la cour, il s'agit d'une tâche différente : BBQ, piscine et terrasse.
Idée et zones
L'idée principale n'est pas de mettre la vie au bord de l'eau. La maison, le parking et la ferme doivent être secs, la terrasse offre une vue, mais conserve un retrait, et l'eau doit être une zone tampon de plantations, une promenade ou un chemin doux. De cette façon, le site reste beau, mais ne se transforme pas en un site à risque.
Ligne directrice par zones : entrée et maison 18 %, terrasse avec vue 10-12 %, pelouse ou loisirs 20-22 %, zone tampon pour l'eau 18-22 %, sentier pédestre 7-8 %, zone utilitaire 8 %, jardin, sports ou plantations supplémentaires 10-12 %. Pour une famille avec enfants, la zone tampon et la vue sont plus importantes que la proximité décorative avec l’eau.
Matériaux
A proximité de l'eau, choisissez des revêtements antidérapants et résistants à l'humidité : pierre texturée, lames de terrasse au profil correct, allées de gravier avec un côté, plantations à fort système racinaire. N'utilisez pas de carrelage poli ni de matériaux endommagés par une humidité constante. Gardez l'éclairage faible et orienté vers l'itinéraire, pas vers l'eau.
Comment construire dans formspace.design
En 1,1 indiquer : « plan d'eau, vue sur l'eau, zone tampon sécuritaire, terrasse en retrait, famille, parcours secs ». À 1,2, chargez un support et marquez la berge comme un point de repère plutôt que comme une limite légale. Dans 1,3, définissez les limites réelles du site. À 1,4, dessinez la maison, les chutes, les arbres existants, la jetée ou les allées. A 1,5 divisez la partie d'habitation sèche, la terrasse avec vue, le tampon et l'espace de promenade. Dans 1,6, ajoutez une terrasse, des plantations, des clôtures, des lumières et des passerelles. Dans 1,7, vérifiez les zones de couverture et la longueur des itinéraires. Veuillez vérifier séparément les normes à terre et la composition du projet : ce qui est inclus dans le projet.
Erreurs fréquentes
- Placez un gazebo permanent ou un barbecue trop près de l'eau sans vérifier les restrictions.
- Aménagez une aire de jeux près de l’eau libre.
- Ignorez les inondations et choisissez des matériaux « comme une terrasse ordinaire ».
- Couvrez toute la vue avec une haute clôture ou une plantation dense.
- Ne laissez pas de passage technique pour l'entretien du rivage et des plantes.
FAQ
Est-il possible d'aménager une terrasse juste au bord de l'eau ?
Parfois, c'est possible, mais c'est une question de normes, de terrain et de sécurité. Dans la plupart des scénarios privés, il est préférable de laisser la terrasse avec vue avec une empreinte.
Où placer le grill ?
Pas juste au bord. Vous avez besoin d'une base sèche, d'un vent dans une direction sûre et à distance des enfants, des plantations et du parquet.
Que faire avec les enfants ?
Prévoyez une visibilité depuis la maison, une zone tampon souple, des portails ou des clôtures. Une belle vue ne doit pas remplacer le contrôle d’accès.
Avez-vous besoin d'une pelouse près de l'eau ?
Seulement si l'endroit n'est pas inondé et est bien entretenu. Les prairies, les couvre-sols ou les sentiers renforcés fonctionnent souvent mieux.
Comment préserver la vue et la confidentialité ?
Utilisez des paliers bas vers l’eau et des écrans plus épais sur les côtés. De cette façon, la vue reste ouverte et les voisins ne dominent pas.
Résumé
La zone près de l'eau n'est pas conçue à partir de l'image, mais à partir d'échancrures, de sécurité et de connexions sèches. Disposez le tampon, visualisez la terrasse et dégagez les itinéraires dans formspace.design, puis accédez aux matériaux : créer un projet.
Date de publication :

Volodymyr Vybornyi
Paysagiste, fondateur de https://formspace.design/
Écrit sur le design paysager, le business et les outils modernes de conception paysagère assistée par ordinateur, y compris l’IA.